Thursday, May 31, 2012

It's all in the bag...


I spent a couple of days using up some scraps and making up some fun zippy bags.  Just wanted to show y'all what I have been doing this week. These bags are great for traveling.  Hope you enjoy the pics.  If you click on the link after the pic, it will take you to our store site.  Don't forget about using my DISCOUNT CODE!


Tuesday, May 29, 2012

Simple 1-2-3 Patchwork Quilt Tutorial


I want to share a very simple quilt that actually packs a wallop presentation wise.  This is the 1-2-3 patchwork quilt.  Very easy! Very Simple!  If you are just starting in quilting...you will love making this quilt.


Supplies


3/4 yd. of 3 coordinating fabrics  I used Airborne, Faded Blue Dottie, and cream chenille
2 yds batting 
2 yds backing fabric (I backed this quilt with the cream chenille)
fabric for binding.  I just used scraps left over from my squares.


Cut your fabrics into 6" squares.  Figure ahead of time how many you need for how big of a quilt you want.  We wanted a baby quilt so we went with 7 x 9 grid.  This means I would need 63 squares.  Divide that by the number of fabrics you have (3) and that will give you how many squares of each fabric you will need...in this case (21).


Next lay your squares out in a 7 x 9 grid.  Put them out in a 1-2-3 pattern.  Follow that simple pattern and it will lay out very quickly.


Now you want to sew each row together.  I start by doing the vertical seam first.  Once I have done that, then i sew each row together horizontally.


I love how the chenille adds some texture to the quilt top!


Layer your quilt top, batting and backing fabric together and pin.  Now you are ready to quilt your pieces together.


I went with a basic diamond pattern.  This is the first round of quilting.  It  didn't quite look right, so I decided to add more lines...


I like this MUCH better...don't you?


Make your binding.  You want to cut strips of fabric that are 2.25" wide.  Make one long strip that will go all the way around the perimeter of your quilt.  Remember to allow for corners.  Once you have your strip, fold it in half and press.  


You are now ready to attach your binding.  Always, Always, Always finish your binding by hand stitching it down.  You will get a much more professional finish in the end.


My quilt finished off at 39'"x 49".  The perfect size for a little one to crawl around on.  You can make this any size your want.  My hubs is actually trying to talk me into making one for our king size bed.  I told him it would take a lot of bribery on his part.  Let's see if he comes through.  


If you have any questions, please feel free to ask.  Stop by Home a la mode and check out our great fabrics for your next patchwork quilt.  Remember, if you use my DISCOUNT CODE, you can get an additional 5% off your purchase.  Thanks for shopping!


Friday, May 25, 2012

Sherman Quilt Guild Meeting

We had a great time last night meeting the wonderful ladies of the Sherman Quilt Guild.
We we able to set up a "mini" Quilt shop to give them a sampling of the wonderful products we carry.
It was a lot of fun seeing all the different creations from their "Batik Challenge".

Karen did a short presentation on our awesome "Say It With Words" panels. 
Brenda did a fabulous job as our "Vanna", helping out with the show :)

After the presentation was over, the ladies got a chance to do a little shopping.
Thanks again for allowing us the opportunity to come out and meet you.  We look forward to seeing you soon!  If you are interested in a mini quilt shop show at your local quilt quild... email or call us!
www.homealamode.com    info@homealamode.com  903-786-7099


Thursday, May 24, 2012

Curling Iron Cover--Tutorial

Hey everyone!  It is 4 a.m.  I can't sleep...know why...my step-daughter is graduating from high school tonight.  Wow, where has the time gone?  We were talking yesterday about all the preparations for graduation, her graduation party, her last day of school...let's just say, we ended up in a very tearful hug full of happy and sad tears...Jeez...I am actually tearing up right now thinking of it.  I just want to say, I am the LUCKIEST step-mom in the whole world.  My "kids" are the BEST!


Ok, enough of that and 3 tissues later...because I can't sleep I have decided to show y'all a tutorial this morning.  My version of the curling iron/flat iron cover.  I love this bag.  You can slide your irons in it as soon as you are done...while they are hot...without having to wait for them to cool down.  How cool is that?  You can do this because you will be using InsulBright Material for the inner "batting". 


I used fabric from Home a la mode...you can find the Tangerine Dottie Fabric here, the Ric Rac here, and I used one strip of fabric from our Scrap bags.

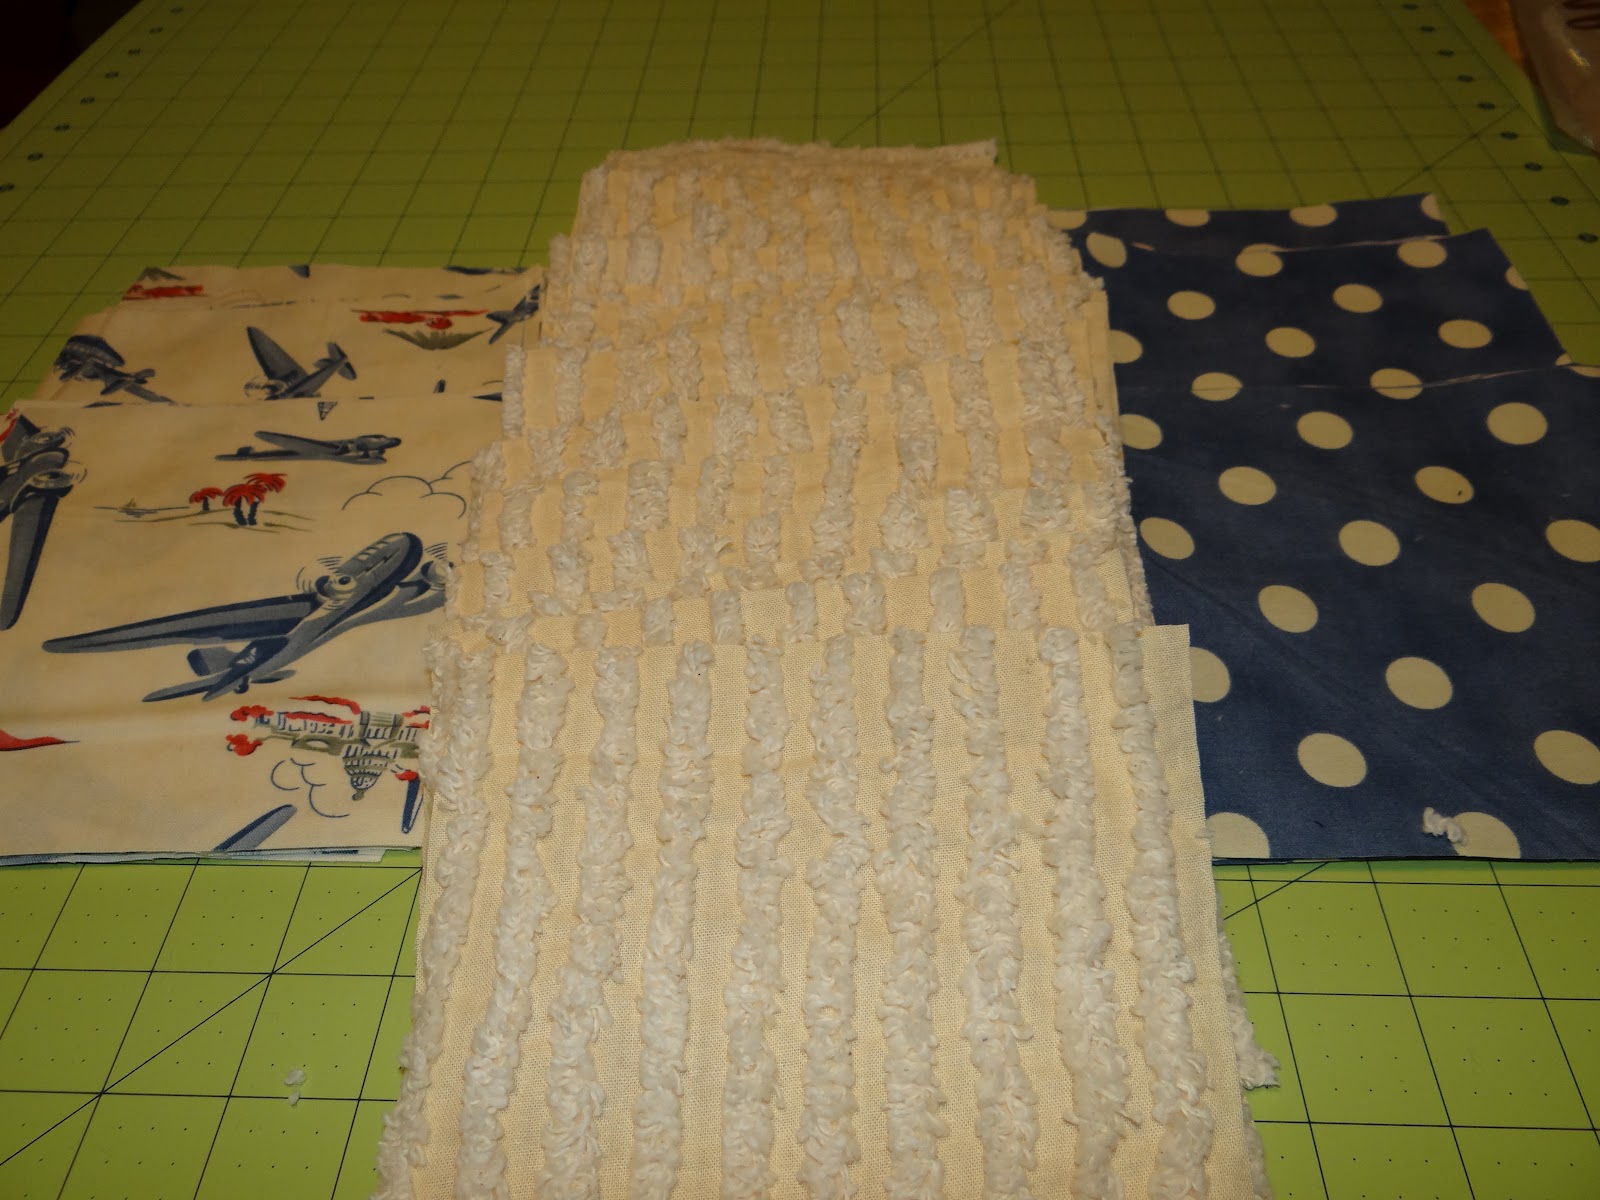
To start with:  you will need 1-3 coordinating fabrics.   InsulBright Material. Fastener, I chose to use a velcro tab, you can use whatever you like.  Any type of extra trims you like.

Cut from Fabric

2--18.5" x 6.5" rectangles--if using 2 fabrics cut one from each.

2--14.5" x 6.5" rectangles--if using 2 fabrics cut one from each

2--13.5" x 6.5" rectangles--if using 2 fabrics cut one from each


From the fabric that you want to "trim" the bag with, cut a 2.25" inch strip to make a binding strip.  You will fold this piece in half and press. 


Cut from  InsulBright


1--18" x 6" rectangle


1--14" x 6" rectangle


1--13" x 6" rectangle--I chose to use regular batting for this piece.  It is up to you what you use.


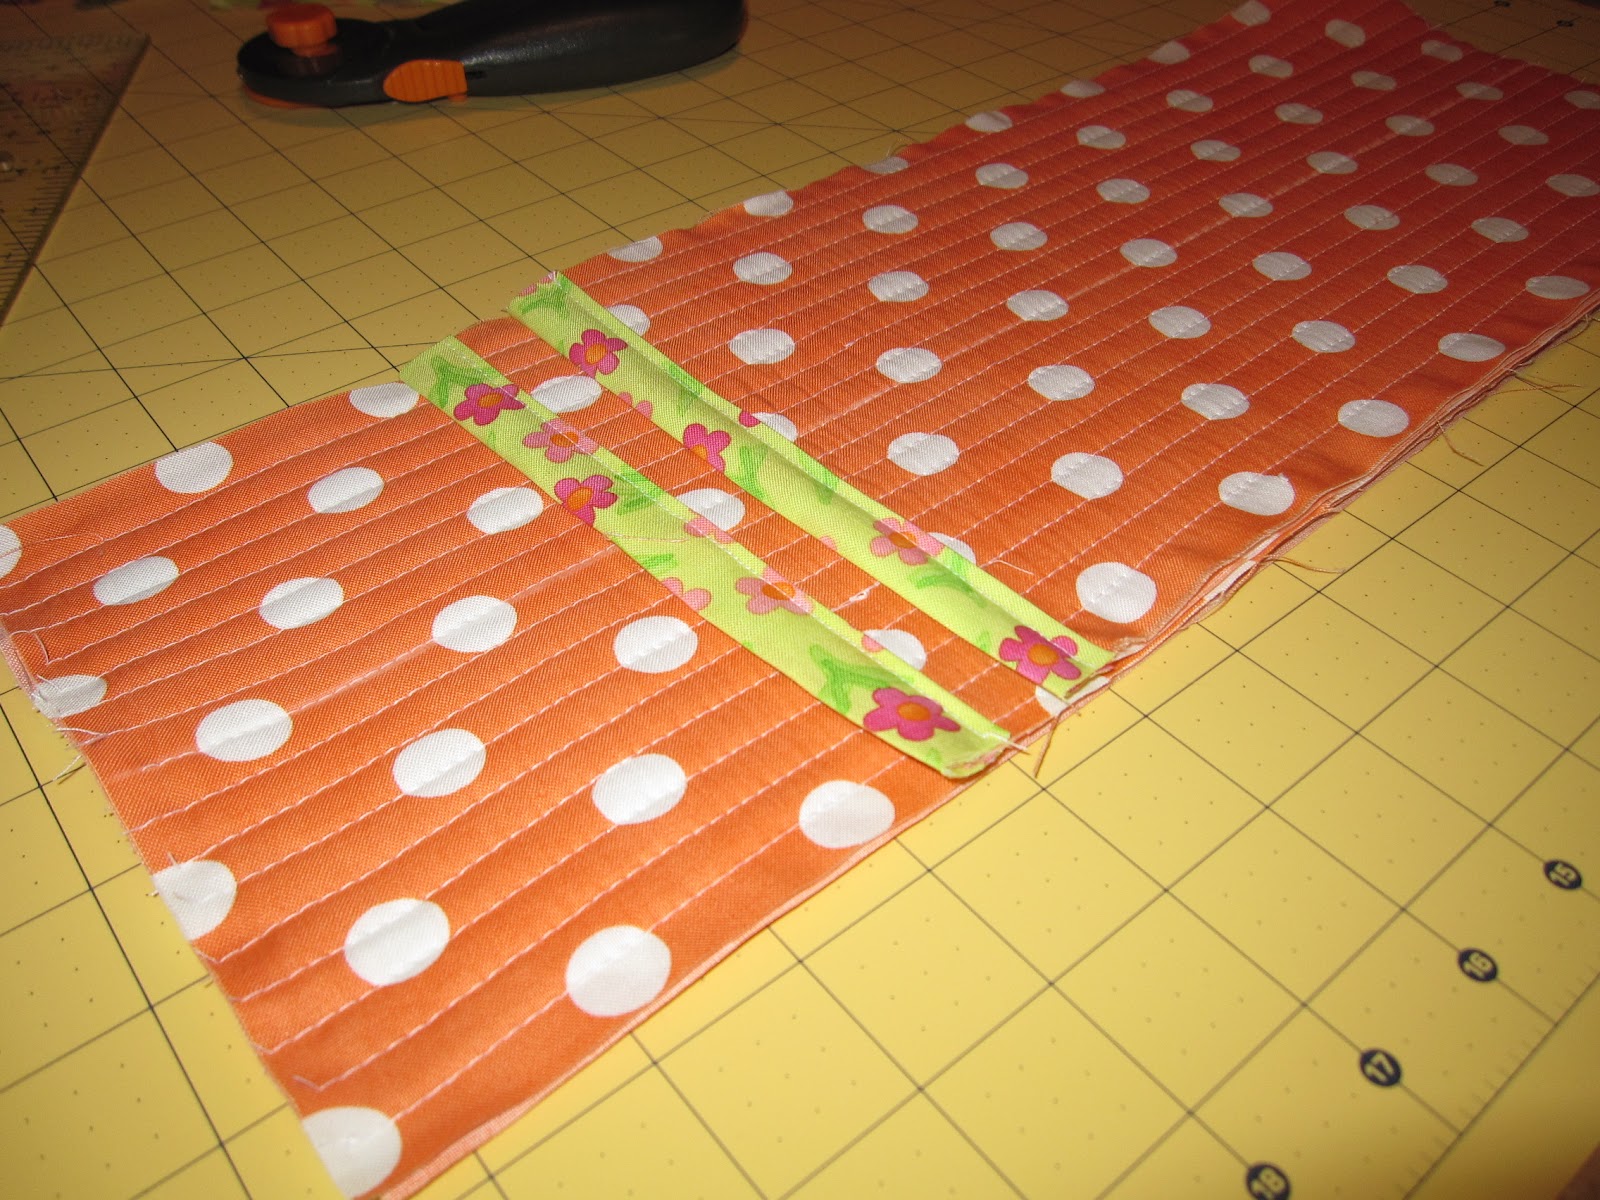
Next you will need to make a "sandwich" with your fabric and  InsulBright/Batting.


Begin quilting.  I chose to go with a straight line stitching.  I found the center of my fabric, sewed down that line...then just lined up the edge of my walking foot with the center line and used that as they width of my rows.


Repeat this for all 3 rectangles.

Next you want to put "trim" on the tops of the 14.5" x 6.5" and 13.5"x 6.5" rectangles.  Take your trim piece place your raw edge across the top of the rectangle on the 6.5 " in edge and sew using a quarter inch foot.  Fold the trim piece over the top of the rectangle then secure it to the back by sewing down the edge as close as you can.

Layer all three rectangles together and sew them together.


Now you want to take your trim piece and attach it to your layered rectangle just like you would quilt binding. 


I usually finish binding by hand.  I wanted to try using my machine this time.  I really like how it turned out.


Now you can add your fastener.


Now just finish up with whatever trims you would like to add.  There are so many ways you could "dress" this up or you can just leave it plain and simple.  I also wanted to show you a case cover that I made my sister.


I hope this has been helpful.  If you have any questions, please feel free to ask.  I would also love to see any that you make!!!


Monday, May 21, 2012

Zippy Pre Cuts

I don't know about y'all but i LLLOOOVVVEEE Pre Cuts.  My kids know when I am talking about working with Layer Cakes, Jelly Rolls, Honey buns, and Charm packs....that they are getting a wonderful treat from the oven...poor kids.  Can I get a collective....AWWWW!  Trust me they aren't going hungry.  They are actually getting some wonderful homemade Cinammon Rolls on Friday. 

OK, on with what I did today.  Do you remember the coasters I made using the Sassy Jelly Roll?


Well after all of that, I still have quite a bit of the Jelly Roll left...


I was talking to Karen about how much I loved the Sassy line and she told me I should make some Zippy bags with the leftovers...So I came up with three...


The last one is actually pretty big.  It measures about 12" x 9".  It is also my first time making chevrons...How did I do?  Even after making these...I still have even more fabric left over so I am thinking I might have to whip out some more just to finish it up. 

If y'all love Pre Cuts as much as I do head on over to Home ala mode and check out our great selection.  If you don't see what you want, feel free to email Karen and she will do all she can to find it for you...and remember if you use my DISCOUNT CODE when you check out, you will get an extra 5% off your order.


Sunday, May 20, 2012

Sleeping with the Fishes

While Kristin was busy at home working on her beautiful creations, I was having a blast at Sea World with my oldest.  Our school offers a field trip to San Antonio to do a "Behind-the-Scenes" tour of the park.
We got to feed the dolphins, pet sharks and sting rays, and see how all the animals are cared for.
 

And most fun, we got to "sleep with the fishes" (and sharks)!
We had a great time and I look forward to going with my youngest next year!
Related Posts with Thumbnails