Showing posts with label simple. Show all posts

Tuesday, August 14, 2012

Our Say It With Words Winner!

Good Morning!!!!  Ok, you guys always amaze me!  Thank you so much for all of the kind comments on the What Cancer Cannot Do Tutorial.  I sat reading them all to my husband last night.  I really do enjoy hearing from everyone!

Now on to some pictures of my finished quilt.


Here is a pic of the quilting I did on the header...

One More....

Now our Winner!!!!


Congrats, Shannon! 
Contact Karen at ksmisek@homealamode.com and give her your choice and shipping information.  


Tuesday, May 29, 2012

Simple 1-2-3 Patchwork Quilt Tutorial


I want to share a very simple quilt that actually packs a wallop presentation wise.  This is the 1-2-3 patchwork quilt.  Very easy! Very Simple!  If you are just starting in quilting...you will love making this quilt.


Supplies


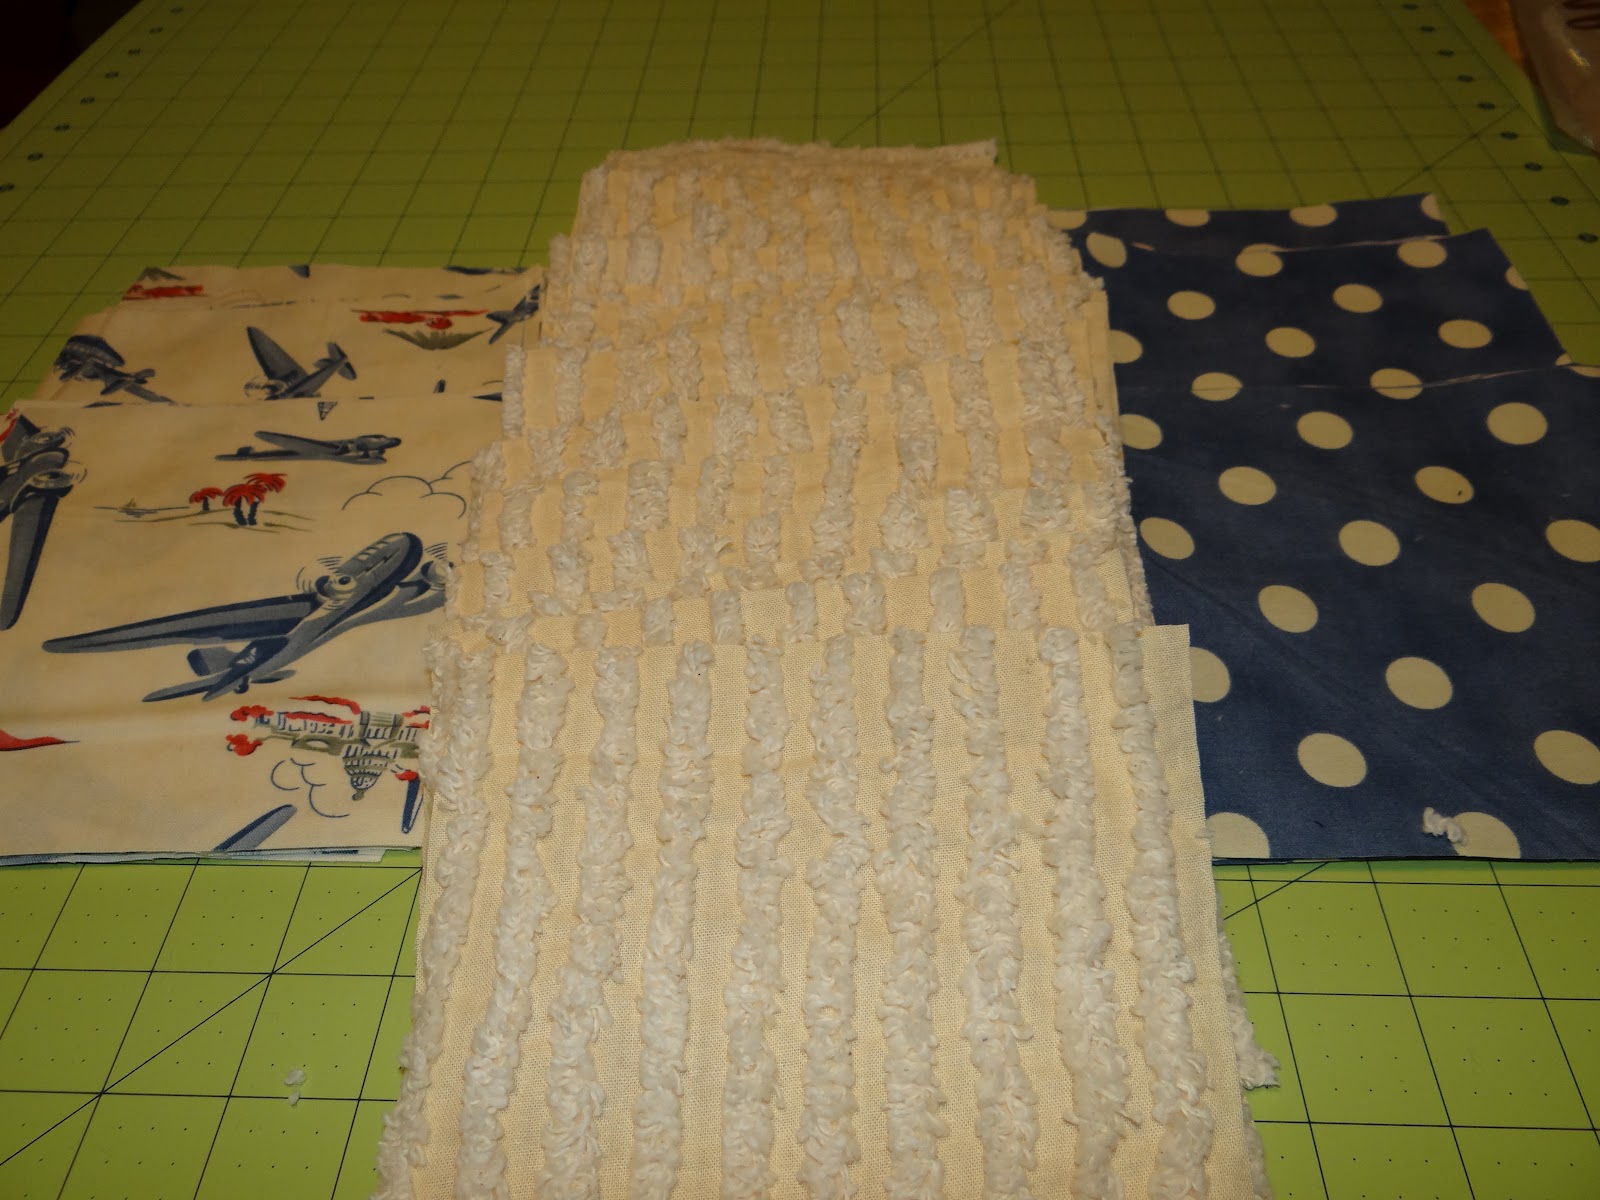
3/4 yd. of 3 coordinating fabrics  I used Airborne, Faded Blue Dottie, and cream chenille
2 yds batting 
2 yds backing fabric (I backed this quilt with the cream chenille)
fabric for binding.  I just used scraps left over from my squares.


Cut your fabrics into 6" squares.  Figure ahead of time how many you need for how big of a quilt you want.  We wanted a baby quilt so we went with 7 x 9 grid.  This means I would need 63 squares.  Divide that by the number of fabrics you have (3) and that will give you how many squares of each fabric you will need...in this case (21).


Next lay your squares out in a 7 x 9 grid.  Put them out in a 1-2-3 pattern.  Follow that simple pattern and it will lay out very quickly.


Now you want to sew each row together.  I start by doing the vertical seam first.  Once I have done that, then i sew each row together horizontally.


I love how the chenille adds some texture to the quilt top!


Layer your quilt top, batting and backing fabric together and pin.  Now you are ready to quilt your pieces together.


I went with a basic diamond pattern.  This is the first round of quilting.  It  didn't quite look right, so I decided to add more lines...


I like this MUCH better...don't you?


Make your binding.  You want to cut strips of fabric that are 2.25" wide.  Make one long strip that will go all the way around the perimeter of your quilt.  Remember to allow for corners.  Once you have your strip, fold it in half and press.  


You are now ready to attach your binding.  Always, Always, Always finish your binding by hand stitching it down.  You will get a much more professional finish in the end.


My quilt finished off at 39'"x 49".  The perfect size for a little one to crawl around on.  You can make this any size your want.  My hubs is actually trying to talk me into making one for our king size bed.  I told him it would take a lot of bribery on his part.  Let's see if he comes through.  


If you have any questions, please feel free to ask.  Stop by Home a la mode and check out our great fabrics for your next patchwork quilt.  Remember, if you use my DISCOUNT CODE, you can get an additional 5% off your purchase.  Thanks for shopping!


Thursday, May 24, 2012

Curling Iron Cover--Tutorial

Hey everyone!  It is 4 a.m.  I can't sleep...know why...my step-daughter is graduating from high school tonight.  Wow, where has the time gone?  We were talking yesterday about all the preparations for graduation, her graduation party, her last day of school...let's just say, we ended up in a very tearful hug full of happy and sad tears...Jeez...I am actually tearing up right now thinking of it.  I just want to say, I am the LUCKIEST step-mom in the whole world.  My "kids" are the BEST!


Ok, enough of that and 3 tissues later...because I can't sleep I have decided to show y'all a tutorial this morning.  My version of the curling iron/flat iron cover.  I love this bag.  You can slide your irons in it as soon as you are done...while they are hot...without having to wait for them to cool down.  How cool is that?  You can do this because you will be using InsulBright Material for the inner "batting". 


I used fabric from Home a la mode...you can find the Tangerine Dottie Fabric here, the Ric Rac here, and I used one strip of fabric from our Scrap bags.

To start with:  you will need 1-3 coordinating fabrics.   InsulBright Material. Fastener, I chose to use a velcro tab, you can use whatever you like.  Any type of extra trims you like.

Cut from Fabric

2--18.5" x 6.5" rectangles--if using 2 fabrics cut one from each.

2--14.5" x 6.5" rectangles--if using 2 fabrics cut one from each

2--13.5" x 6.5" rectangles--if using 2 fabrics cut one from each


From the fabric that you want to "trim" the bag with, cut a 2.25" inch strip to make a binding strip.  You will fold this piece in half and press. 


Cut from  InsulBright


1--18" x 6" rectangle


1--14" x 6" rectangle


1--13" x 6" rectangle--I chose to use regular batting for this piece.  It is up to you what you use.


Next you will need to make a "sandwich" with your fabric and  InsulBright/Batting.


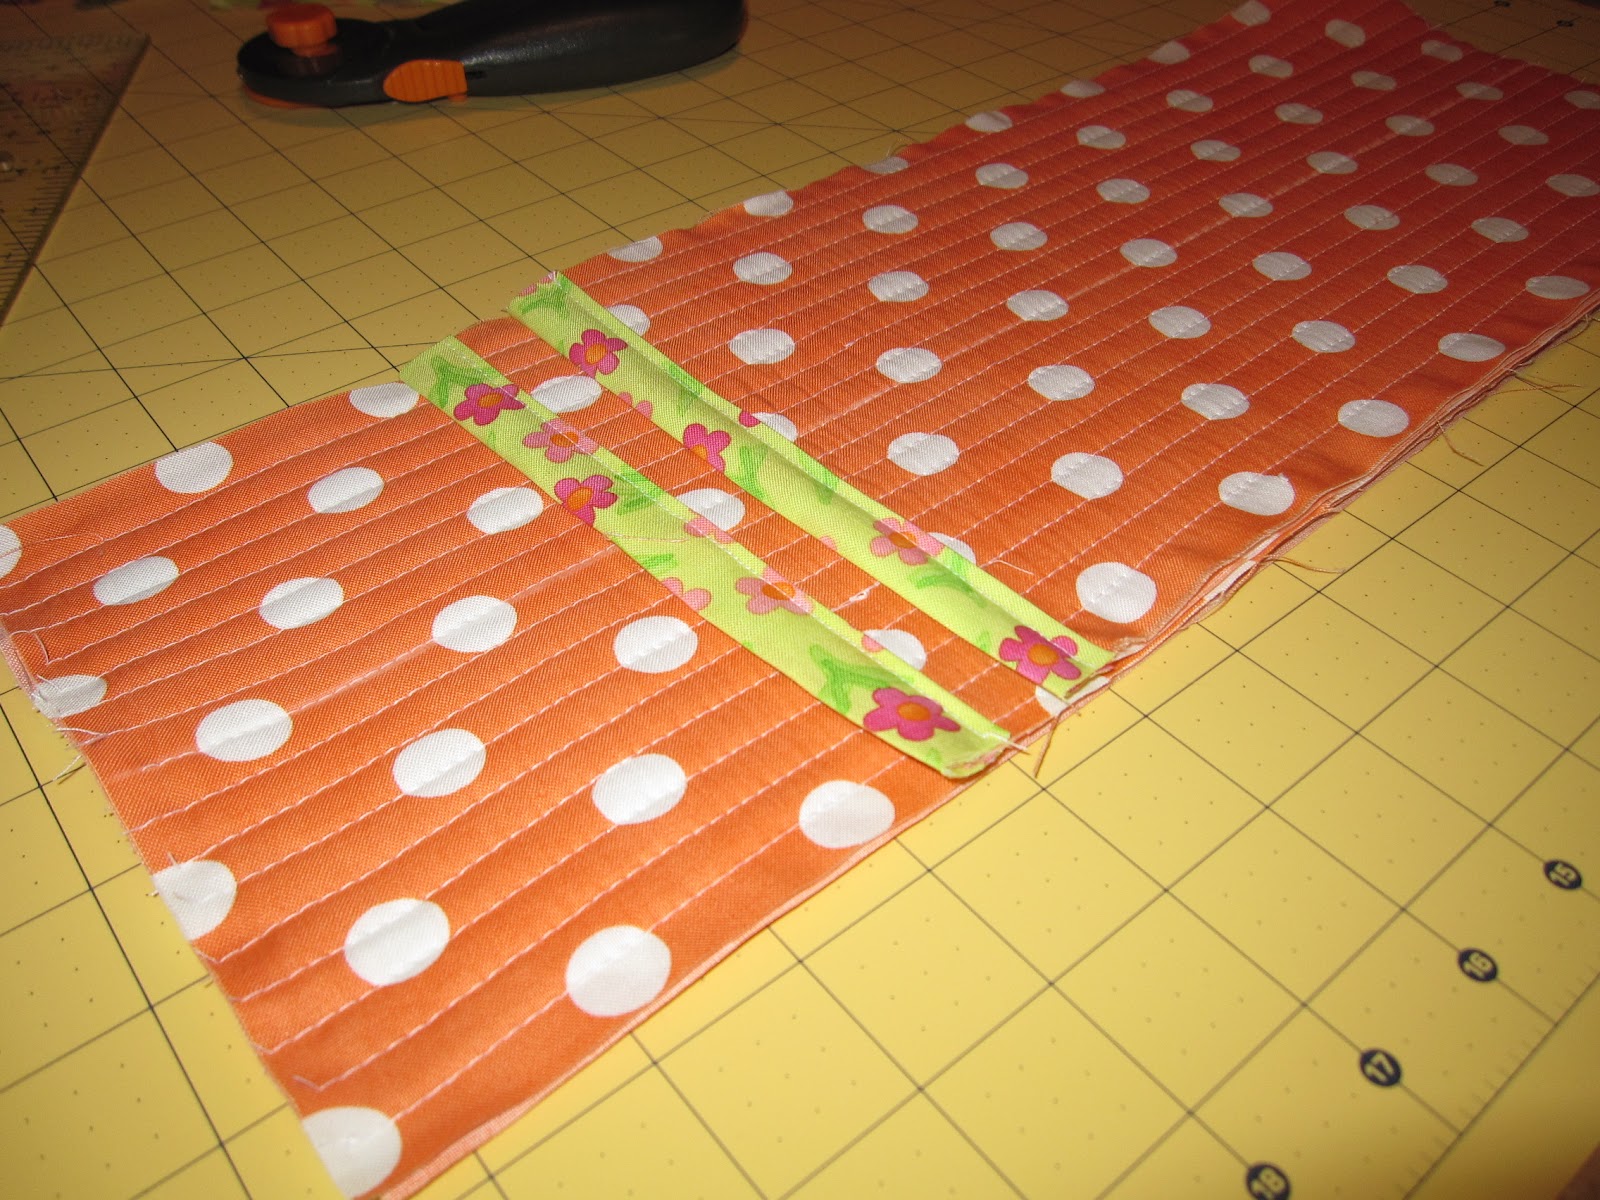
Begin quilting.  I chose to go with a straight line stitching.  I found the center of my fabric, sewed down that line...then just lined up the edge of my walking foot with the center line and used that as they width of my rows.


Repeat this for all 3 rectangles.

Next you want to put "trim" on the tops of the 14.5" x 6.5" and 13.5"x 6.5" rectangles.  Take your trim piece place your raw edge across the top of the rectangle on the 6.5 " in edge and sew using a quarter inch foot.  Fold the trim piece over the top of the rectangle then secure it to the back by sewing down the edge as close as you can.

Layer all three rectangles together and sew them together.


Now you want to take your trim piece and attach it to your layered rectangle just like you would quilt binding. 


I usually finish binding by hand.  I wanted to try using my machine this time.  I really like how it turned out.


Now you can add your fastener.


Now just finish up with whatever trims you would like to add.  There are so many ways you could "dress" this up or you can just leave it plain and simple.  I also wanted to show you a case cover that I made my sister.


I hope this has been helpful.  If you have any questions, please feel free to ask.  I would also love to see any that you make!!!


Tuesday, January 17, 2012

Charm Pack Coasters

Hey there!  Well, I have decided to try my hand at offering you a simple tutorial. 

These little cutie coasters are made using 8 pieces of fabric from a charm pack.


 Choose 8 squares (if you don't have a charm pack just cut 5" x 5" squares from your choice of fabric)


Cut 4 pieces of batting that are 5 1/4" square


Layer your pieces in this order: 2 pieces of your fabric right sides facing together then a piece of batting.  Sew your layers together using a 1/4" seam.  * I used my walking foot just took keep things from slipping.  Make sure you leave a 2" opening on one side so you can turn your square right side out.


Cut your four corners on an angle..this will help you have a crisper corner.


Turn your square right side out.


Once you have turned your square you will see that your corners are kind of rounded.  I am not a big fan of that.  I like nice crisp corners so i used the wonderful tool known as the Classic Crystal Point Turner.


See how much prettier the corners are now?...I love this tool!  I really am not sure how my life existed without it.  I use it everytime I am turning items.  LOVE LOVE LOVE it.  (ok that was my little woohoo for the day :o) )


Now once you have turned everything you will have a small opening


Press press press.  Make sure that your opening sides are lined up.  This might take a some negotiations with your iron but you can make it happen.


Now you are are ready to sew around your edge to close the opening.  I like to sew as close as possible to the edge so I can make sure to catch all the fabric.  Now is also the time to do any kind of quilting you like.  I like to vary my quilting. 


Now you are all done.  You can just throw them on your coffee table or tie a ribbon around them and give them as a great Thank You gift.

Let's Go Sew!
Kristin
Related Posts with Thumbnails