Showing posts with label quilting. Show all posts

Friday, March 13, 2015

Quilting is as Easy as... 1, 2, 3!

Are you an admirer of quilts?  Do you long to wrap yourself up in a beautiful, warm creation that we made by you?  Can you sew a straight line?  Than with our 1, 2, 3 method, ANYONE (even you) can be a quilter!
Supplies need:
Steps:
  • Cut each of your 1 yard pieces of fabric into 6" strips.  Each 1 yard piece will give you (6) 6" strips
  • Then cut all the 6" strips into 6" x 6" squares.  You will get (7) 6"x6" squares per strip for a total of (42) squares per 1 yard piece of fabric.  You will end up with (126) squares when all your 3 yards have been cut.
     
  • You will need to cut off 6-8" of the bottom of your piece of grid.  Lay vertically on end to add to the overall width.  You will then lay out your squares on the Quilter's Grid using the 1, 2, 3 pattern.  Your quilt will be 9 squares across by 14 squares down.
  • Continue laying out all the rows and iron into place.
  • Once all your squares are ironed into place, you will fold over each row and sew a 1/4" seam (or just use the edge of your foot).  Either is fine as long as you are consistent.
  • Sew one direction, iron all seams one direction, and then sew the seams going the other direction until all seams are sewn.  The press to lay all seams flat.
  • Now you are ready to baste, quilt, and bind in your favorite way.  Finished quilt top measures approximately 48" x 74", depending on your seam size.
Check out our YouTube video to see how to use the Quilter's Grid.  And visit our website for all your quilting (and vintage-inspired home) goods.

~Happy Sewing!

Thursday, September 4, 2014

Bragging Rights - Peggy

At our recent show for the Plano Quilt Guild, we got to see and visit with one of our good customers, Peggy.  She had told us that the fabric she bought from us at another one of our shows had turned into a beautiful Saw Tooth Log Cabin Quilt.
And she was right.  Check out this GORGEOUS quilt she made using Moda Fabrics.  Along with the quilting done by Richard Larson, she now has a treasured keepsake to last for generations to come.

Remember, send us your pictures of what you have made and we will brag on you too.  Email them to me at jsmisek@homealamode.com or just post them to our Facebook page at www.facebook.com/homealamode.

~Happy Sewing!

Monday, August 27, 2012

Faith, Hope, and Love


Well, I have been at it again.  Playing with our Say It With Words Panels.  Today I wanted to show you the Faith Hope and Love Panel.  When I first saw this one I was really unsure what I wanted to do with it.  I had never made anything on point.  I dragged my feet, just a little, but I did.  So let me start by showing you what I had to work with...


First off...

Next...

Then...and this was my favorite part...
When we went to the Dallas Quilt Market this spring, it seemed just about every quilt had these on them.  I would never have thought about putting crystals on a quilt.  They add a completely different depth to the finished project.

They are so easy to apply using this little tool...


So...now for my finished project...
I was going for a Christmas tree look.  If you look closely, you can see where I applied the crystals.  When you step away from this quilt and look at it, it just sparkles.  

I would love to hear what you think of the quilt.  Hope you are having a great start to your week!


Tuesday, August 14, 2012

Our Say It With Words Winner!

Good Morning!!!!  Ok, you guys always amaze me!  Thank you so much for all of the kind comments on the What Cancer Cannot Do Tutorial.  I sat reading them all to my husband last night.  I really do enjoy hearing from everyone!

Now on to some pictures of my finished quilt.


Here is a pic of the quilting I did on the header...

One More....

Now our Winner!!!!


Congrats, Shannon! 
Contact Karen at ksmisek@homealamode.com and give her your choice and shipping information.  


Tuesday, May 29, 2012

Simple 1-2-3 Patchwork Quilt Tutorial


I want to share a very simple quilt that actually packs a wallop presentation wise.  This is the 1-2-3 patchwork quilt.  Very easy! Very Simple!  If you are just starting in quilting...you will love making this quilt.


Supplies


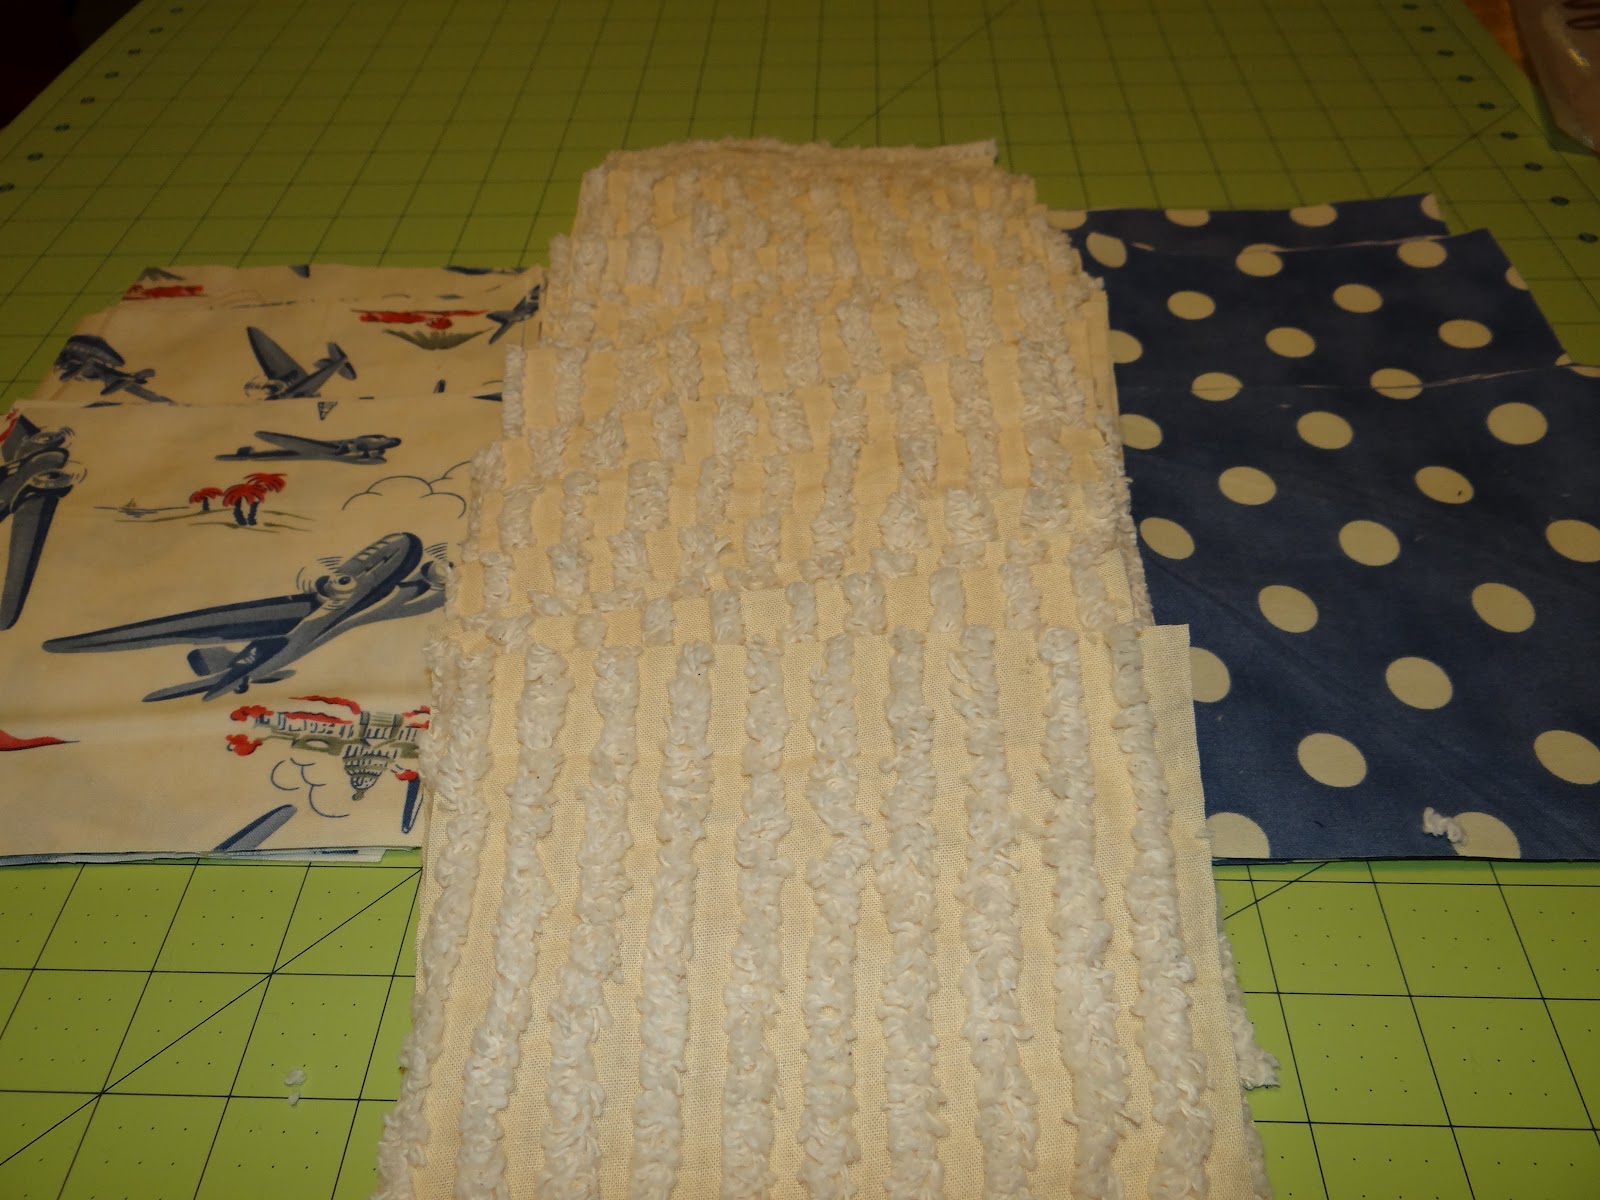
3/4 yd. of 3 coordinating fabrics  I used Airborne, Faded Blue Dottie, and cream chenille
2 yds batting 
2 yds backing fabric (I backed this quilt with the cream chenille)
fabric for binding.  I just used scraps left over from my squares.


Cut your fabrics into 6" squares.  Figure ahead of time how many you need for how big of a quilt you want.  We wanted a baby quilt so we went with 7 x 9 grid.  This means I would need 63 squares.  Divide that by the number of fabrics you have (3) and that will give you how many squares of each fabric you will need...in this case (21).


Next lay your squares out in a 7 x 9 grid.  Put them out in a 1-2-3 pattern.  Follow that simple pattern and it will lay out very quickly.


Now you want to sew each row together.  I start by doing the vertical seam first.  Once I have done that, then i sew each row together horizontally.


I love how the chenille adds some texture to the quilt top!


Layer your quilt top, batting and backing fabric together and pin.  Now you are ready to quilt your pieces together.


I went with a basic diamond pattern.  This is the first round of quilting.  It  didn't quite look right, so I decided to add more lines...


I like this MUCH better...don't you?


Make your binding.  You want to cut strips of fabric that are 2.25" wide.  Make one long strip that will go all the way around the perimeter of your quilt.  Remember to allow for corners.  Once you have your strip, fold it in half and press.  


You are now ready to attach your binding.  Always, Always, Always finish your binding by hand stitching it down.  You will get a much more professional finish in the end.


My quilt finished off at 39'"x 49".  The perfect size for a little one to crawl around on.  You can make this any size your want.  My hubs is actually trying to talk me into making one for our king size bed.  I told him it would take a lot of bribery on his part.  Let's see if he comes through.  


If you have any questions, please feel free to ask.  Stop by Home a la mode and check out our great fabrics for your next patchwork quilt.  Remember, if you use my DISCOUNT CODE, you can get an additional 5% off your purchase.  Thanks for shopping!


Thursday, January 26, 2012

Tool Review

Has this ever happened to you?


You are sewing along, singing to some great music...you look down and something doesn't look right.  UUUUGGGGHHH!  You have sewn the wrong things together.  This happens to me more than I care to admit.  Anyway, time to get out the old seam ripper.


This, for me, is a pain.  I feel like I have to practically stick the project up my nose to be able to see things...Think, Think, Think...there has to be something that can make this easier.  Oh wait! There is!  I begged on bended knee for us to try this tool:


OOHHHH!  This is the Mighty Bright Seam Ripper.  Yes, ooooo and  aaahhhh.  I LOVE this thing.  OK, it has an ergonmic handle, a magnifier, AND a LED light.  WOW WOW WOW.  This is an absolutely wonderful tool.


If you haven't seen this or tried it... STOP what you are doing...put down your coffee cup...go here and get one.  I would even recommend that you get a couple of extras for your friends and family.  This would make a great little gift to give someone.  I can't wait to hear back from you and tell me what you think.

Let's Go Sew!

Kristin
Related Posts with Thumbnails