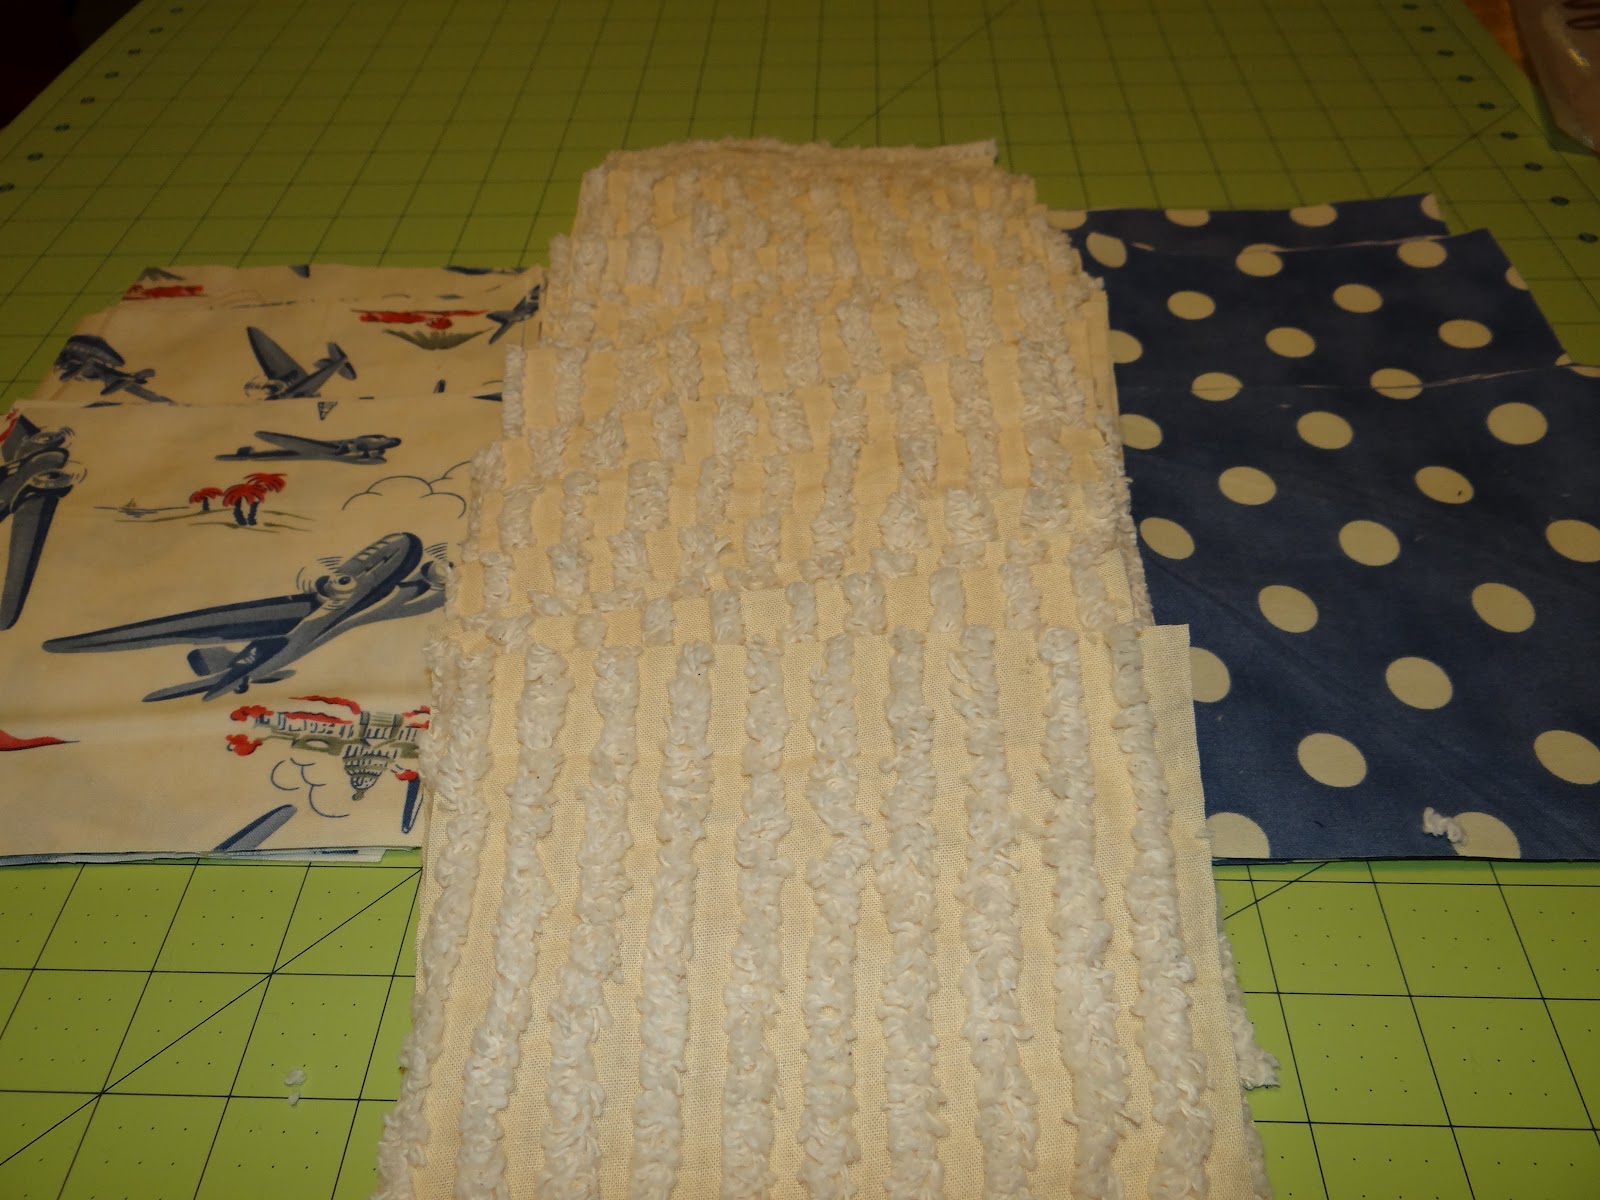
Good Monday Morning! For the next 3 days we are offering 10% off of all of our fabrics. I wanted to show you a pillowcase tutorial that you could quickly make up with some of the great fabrics that I know you will want to get.
Supplies
1 honey bun--I used Bungle Jungle
1.5 yds of main fabric--I used Christmas Red Dottie
Ric Rac--I used Medium Aqua
.5 yd of lightweight interfacing

Have you ever noticed that when I am using a honey bun or jelly roll that my pictures never have them rolled up? It is because I can't wait to open them up and see what is inside. It is the little kid in me...it is like Christmas every time I get a new one...just can't wait.
Choose 22 strips. Lay them out and get the look you are going for.

Sew your strips together. The easiest way to do this is sew 2 together at a time. Then add them all together to form one piece.

Cut 2 strips that are 11" wide x the width of the fabric that you have sewn together.

Now, sew the 2 strips together end to end.

Add your interfacing to the wrong side of the strips. The only reason I did this, is so when the pillow case is washed, the seams won't get all bunched up and weird. You can completely skip this step if you like.

Cut your main body of fabric to 21" x width of fabric.

I folded my sewn together strips of fabric in half and laid them down on the main body of the fabric, then trimmed the main body to the same size as the strips. It is hard to give an exact measurement here because of how your strips come together. Just make that both are the same size and you shouldn't have any problems.

Choose another Honey Bun strip. Press it in half along the entire length of the strip.

Sew a piece of the ric rac along the entire length of the strip. I placed mine really close to the edge of the fold so when I sewed the case together you could see all of the ric rac.

Layer your 3 pieces together. Make sure your fabrics are all unfolded. Place all right sides of the fabric facing up. You want to start with the stripped fabric...then the main body...then the strip that has the ric rac.

Line up all your edges.

I place 3 pins along the edge just to hold everything together. Trust me it is a pain to sew it all together and the realize that you have missed places because the fabric has shifted.

Roll up your main piece of fabric.
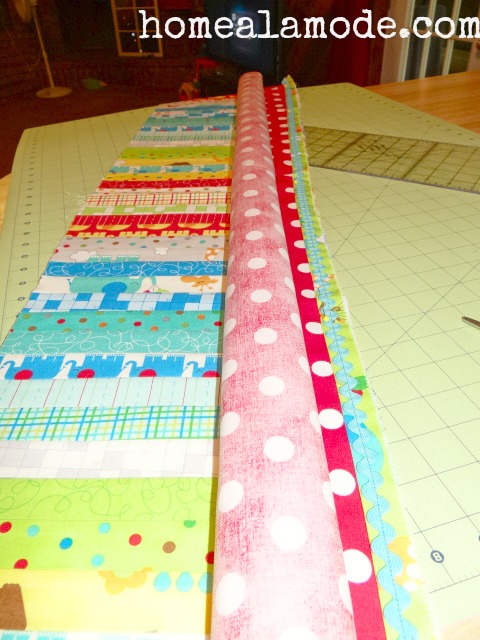
Now, fold up your stripped fabric and pin the edges together. You want to make sure that the main fabric is not in the way. When you roll it up leave yourself about 2 inches of room so you can pin the edges together.
*On a side note. See that really awesome pincushion? That is a Grabbit Magnetic Pin Cushion. If you don't have one...GET ONE. I love how powerful the magnet is on this. With a little one around, I don't have to worry about my pins falling off and her finding them with her little foot.

Sew along your edge using a 1/4" seam.

Grab your main fabric and start pulling it out of the end of the tube you just made. Don't forget the pins that you put in to secure your layers. I did...it hurt...learn from my mistakes...lol.

Keep pulling until you have turned the entire tube inside out.

This is what you should have.

Press your pillowcase with wrong sides together.

Using a scant 1/4" seam sew along the 2 open edges. Once you have done this, turn your case inside out. Press again.

Now you want to sew down the edges that you had sewn in the previous step. Use a 1/2" seam. This gives you a French seam and you have no open seams on your pillowcase. Turn it right side out again and press. WooHoo! You just made a pillowcase.

Here it is completed. Now, my question for you, would you like to see a tutorial of how I made the adorable little pillow in front?

I had told you on Friday that I would show you all of the things that I was able to make with the honey bun. Here they are...

So, what do you think? Personally, the little bag with the flower is my favorite! I think I will have to make ups some more of that one.
Now, head over to Home a la mode...check out all of our fabrics...and get to sewing. Remember, if you use my Discount Code it will give you an extra 5% off your order. That means you can get 15% off of your fabric. That sounds like a pretty good deal to me!